CARE GUIDES
Whetstone Grit Guide: 220 to 8000
A practical whetstone grit guide to choosing 220–8000 stones, sharpening stages, and a sensible progression.
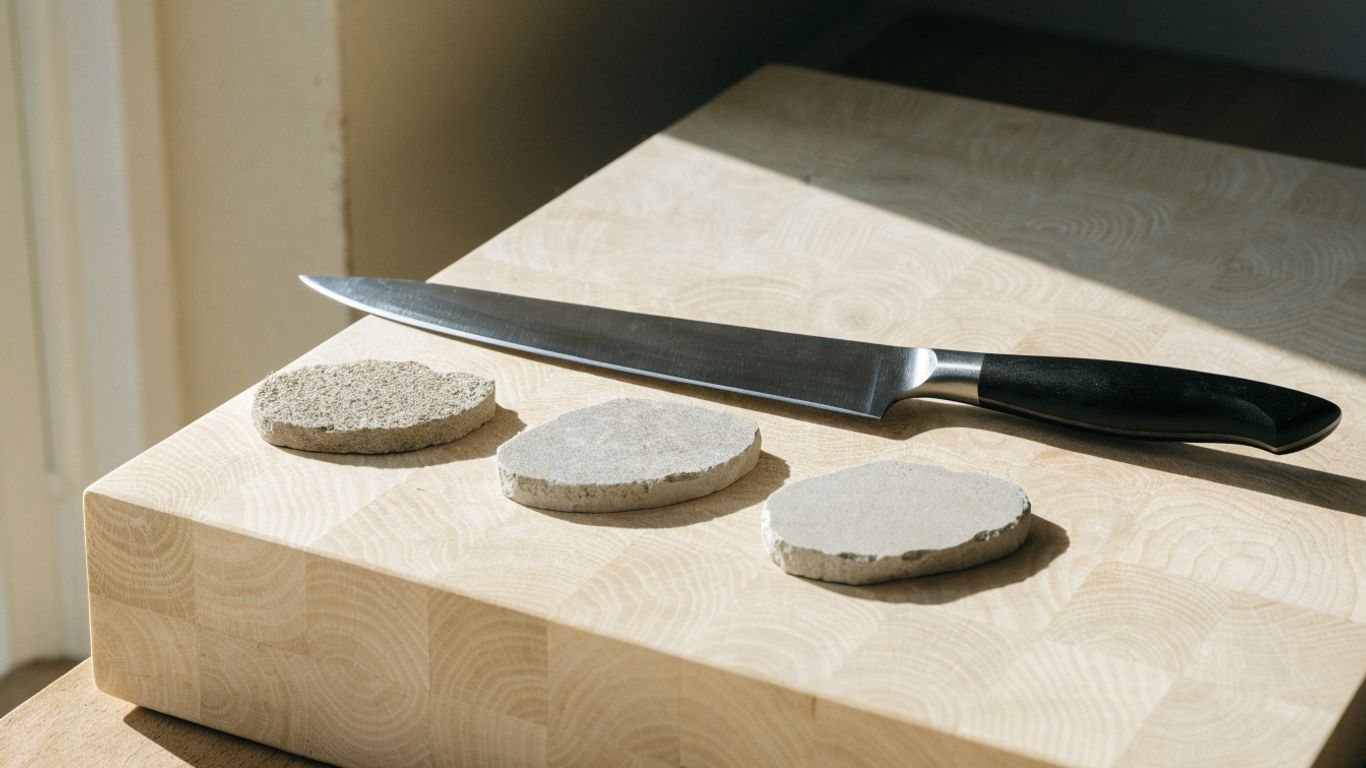
How whetstone grit numbers work
A whetstone grit guide helps you match a stone’s coarseness to the condition of your knife and the finish you want. Lower numbers generally mean a coarser abrasive that removes metal faster; higher numbers generally mean a finer abrasive that refines the edge more slowly. If you’re a home cook choosing a first stone, a medium grit is often the practical starting point for routine sharpening, while damaged edges may need a coarse stone first.
What the grit number tells you about abrasive particles
The grit number is a useful shorthand for the size of the abrasive particles, but it is not a universal measurement that makes every stone with the same number identical. A 1000-grit stone from one maker can feel different from another because abrasive material, bonding, and how the stone wears all affect its behavior. Treat the number as a guide to a range, then consider the maker’s description and the task in front of you.
How grit affects metal removal and scratch patterns
A coarse stone removes metal more quickly and leaves deeper, more visible scratches. A finer stone removes less metal per stroke and leaves a more refined scratch pattern, but it cannot efficiently correct a major chip or badly misaligned bevel. The table gives a practical comparison, not a promise that every stone in a range will behave exactly alike.
| Grit range | Typical role | Relative metal removal | Edge finish |
|---|---|---|---|
| 220–600 | Repair or reshape an edge | Fast | Coarse scratches |
| 800–2000 | Routine sharpening | Moderate | Functional, refined edge |
| 3000–5000 | Further edge refinement | Slow | Finer scratch pattern |
| 6000–8000 | Polishing and finishing | Very slow | Highly refined finish |
Use the table to choose a starting point, then stop as soon as the edge is sharp enough for your work. Spending extra time on a fine stone will not compensate for an edge that was never properly formed on the earlier stone.
Why grit ratings can vary between stone makers
Grit labels are most useful when comparing stones within the same maker’s range, and less reliable as a precise cross-brand conversion. A stone’s feel also changes with how it is prepared and maintained, so a number alone cannot tell you exactly how quickly it will cut. For a step-by-step approach to choosing and using a stone, see this guide to sharpening a knife with a whetstone.
When to use a 220–600 grit stone
A 220–600 grit stone is for substantial edge work: repairing a small chip, changing a damaged bevel, or bringing a very dull knife back into shape. It removes metal quickly, which is useful when the edge needs correction and wasteful when it does not. For a knife that is merely losing bite, begin with a medium stone instead of reaching for the coarsest option.
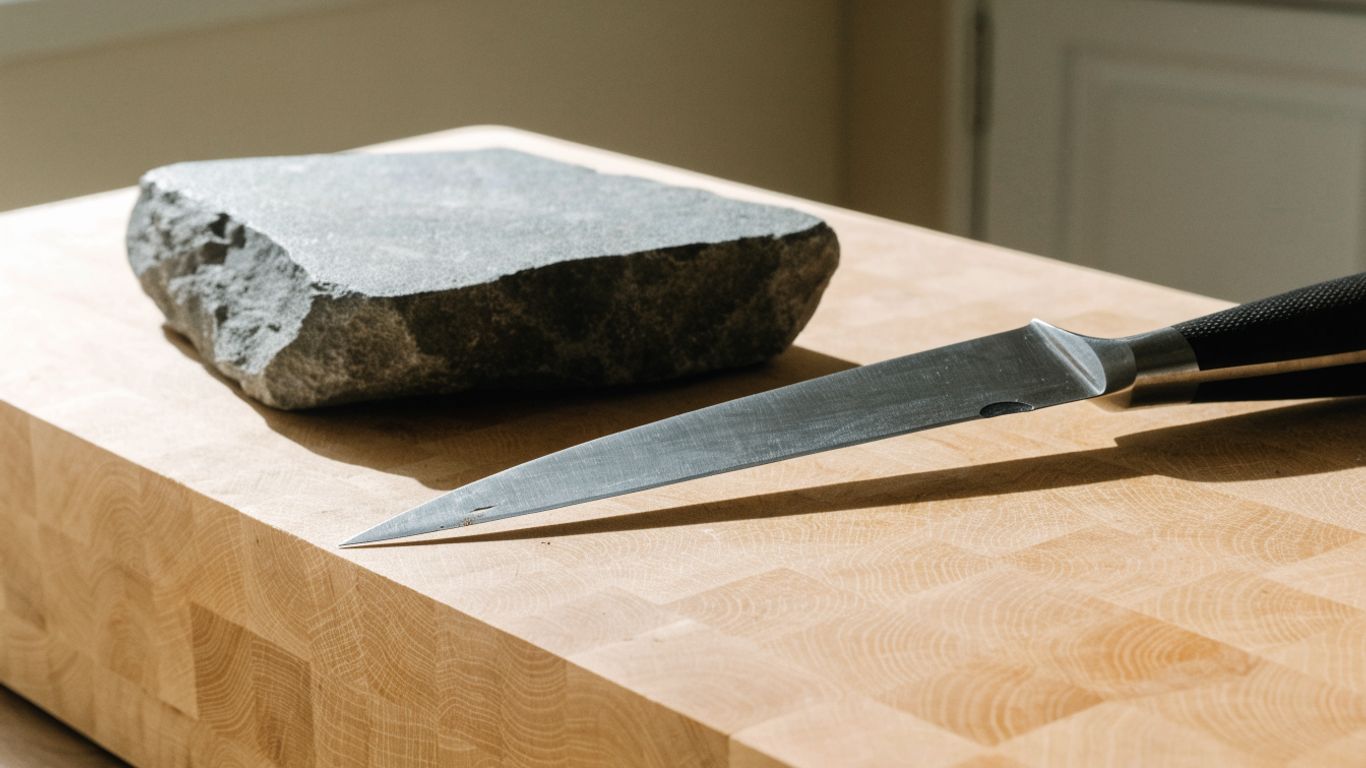
Repairing chips and reshaping a damaged edge
A coarse stone can help remove material around a small chip and establish a new, continuous edge. Larger damage, a bent tip, or a deep chip may call for a repair service rather than repeated grinding at home, especially if you are unsure how much steel must come off. Work slowly and check the edge often; reshaping is an irreversible change to the blade.
Using coarse stones to sharpen very dull knives
If a knife is so dull that a medium stone makes little progress, a coarse stone can establish the bevel more efficiently. Once the edge is formed, move to a medium grit to refine it rather than trying to finish the knife on the coarse surface. The process takes practice, and the main risk is removing more steel than the knife needs.
Avoiding unnecessary metal removal and deep scratches
A coarse stone is not a shortcut for every dull knife. Use it only when the condition of the edge calls for significant correction, because deep scratches take more work to remove at finer grits. If you are uncertain whether a knife needs sharpening or only realignment, this explanation of honing and sharpening can help you choose the lower-wear option.
What 800–2000 grit stones are best for
For many home cooks, 800–2000 grit covers the everyday work of restoring a dull kitchen knife without starting with an unnecessarily aggressive stone. These grits are fine enough for a useful working edge and coarse enough to make steady progress on routine maintenance. A 1000-grit stone is a common all-purpose starting point, though the knife’s condition and the stone itself matter.
Sharpening a typical dull kitchen knife
A typical dull knife with no chips or major edge damage can usually start on a medium stone. Use consistent strokes and maintain the same bevel angle from one pass to the next; an inconsistent angle can make sharpening slower and less predictable. If you need a fuller walkthrough, these home knife sharpening steps explain the basic process and checks.
Choosing between 1000 and 2000 grit for everyday edges
A 1000-grit stone is a flexible choice when you want one stone to do most routine sharpening. A 2000-grit stone refines the edge further and can be appropriate when the knife is already in reasonable condition, but it may take longer to repair a very dull edge. Neither number guarantees a particular cutting feel, so choose based on how much work the knife needs and what you cut most often.
Knowing when a medium stone has done enough
A medium stone has done enough when the bevel is continuous and the edge is sharp for the jobs you regularly do. Chasing a polished appearance is not necessary for a dependable kitchen knife, and more sharpening means more steel removed. Look for consistent results along the full edge rather than relying on a single quick test at one point.
When to move up to 3000–8000 grit
Move to 3000–8000 grit after a medium stone has established a clean, continuous edge and you want to refine its finish. Fine stones remove metal slowly, so they are finishing tools rather than a remedy for chips or a badly dull edge. Whether you need one depends on your cutting habits, your patience, and how much refinement you actually value.
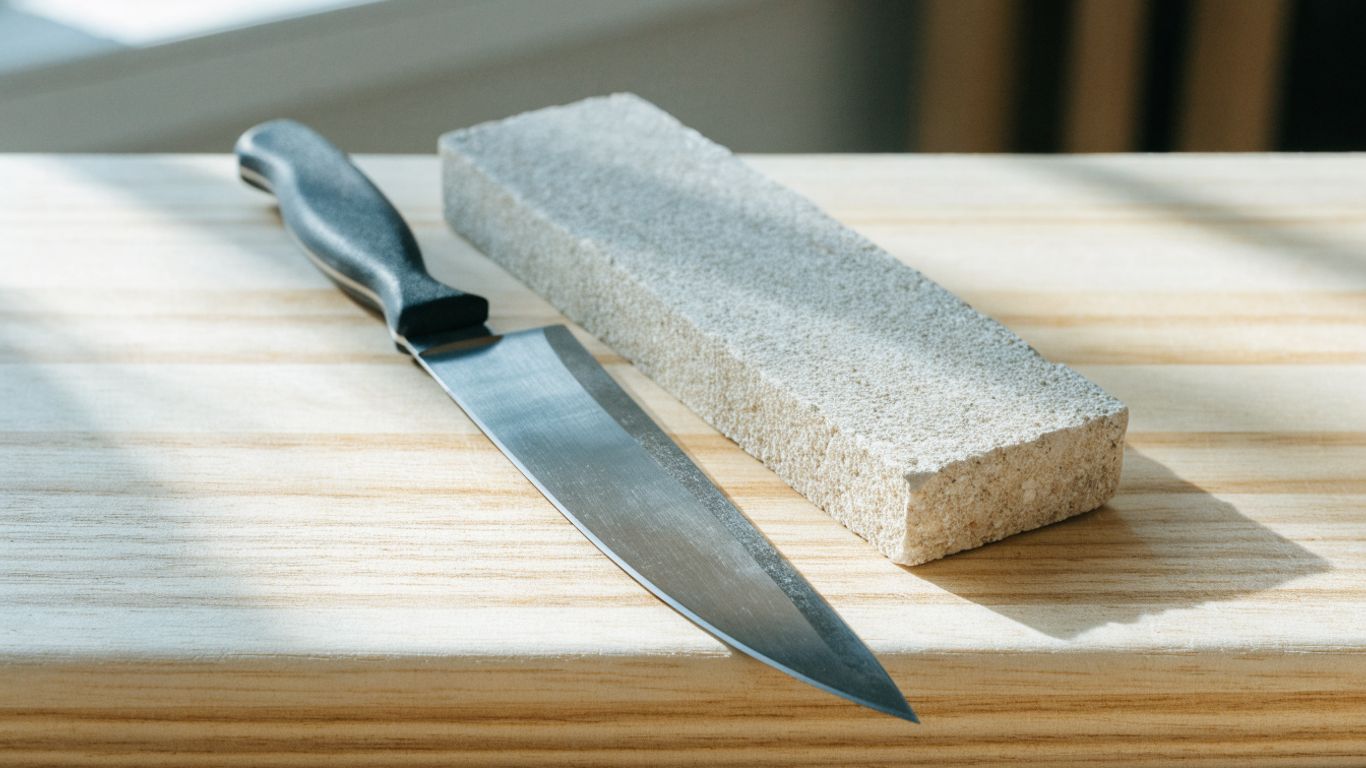
Refining an edge after sharpening on a medium stone
A finer stone reduces the coarser scratches left by the previous stage and can leave a smoother-looking bevel. It works best when the edge is already established; jumping to a fine grit too early can leave you polishing an edge that is still dull. Keep the pressure controlled and the strokes consistent as you progress.
Choosing a finish for slicing, chopping, or push cutting
Different tasks can favor different edge finishes. A refined edge may suit clean slicing or push cutting, while a less polished edge can still work well for ordinary kitchen use and may provide useful bite on some foods. There is no single finish that makes sense for every knife, so use the result that fits the way you cook rather than polishing for its own sake.
Understanding the limits of polishing a working kitchen edge
An 8000-grit stone can produce a very refined finish, but it cannot fix poor technique or a bevel that was not properly formed. Fine polishing also takes time, and the difference may not matter for everyday chopping. If the knife cuts cleanly and stays easy to maintain, stopping at a medium or moderately fine finish is a reasonable choice.
How to choose the right grit for your knife and task
Choose grit by looking at the edge first, then decide how much refinement you want after it is sharp. A damaged edge, an ordinarily dull knife, and a knife that only needs a touch-up are different jobs, so they should not all begin on the same stone. Before buying, consider the work involved, your sharpening experience, and whether you have the time to manage multiple stones.
Matching grit to the knife’s condition
A chipped or heavily worn edge may need a coarse stone; a generally dull but intact edge usually needs a medium stone; and an already sharp edge may benefit from a finer stone if you want more refinement. The correct starting grit is the least aggressive one that can reasonably do the job. That approach helps limit unnecessary metal removal and makes the sharpening sequence simpler.
Accounting for steel hardness and blade type
Steel type and blade geometry affect sharpening, but grit alone does not tell you how a knife will respond. Harder steels can be slower to abrade, and different bevel shapes may call for different handling, so check the knife maker’s guidance if it is available. Use a stable, repeatable angle and avoid assuming that every blade should be sharpened the same way.
Picking a practical stone setup for home sharpening
For a simple home setup, one medium stone can cover routine sharpening, while a coarse stone is useful if you expect to repair damaged edges and a fine stone is optional for extra refinement. A practical way to decide what belongs in your setup is to group the choices by need:
- Routine sharpening: start with a medium stone around 1000 grit.
- Edge repair: add a coarse stone in the 220–600 range if you need to correct damage.
- Extra refinement: consider a 3000–8000 stone only if you want a finer finish.
This keeps the initial purchase focused on the work you actually do. More stones add cost, setup, and time, so expand the set only when you can name a task your current stone cannot handle well.
How to progress through whetstone grits
Progress from coarse to fine only when the edge needs each stage. The aim is not to use every grit in sequence, but to remove the scratches from the prior stage while preserving a consistent bevel. Starting too fine or moving on too soon are common reasons a long sharpening session produces a disappointing edge.
Starting with the coarsest stone the edge actually needs
Assess the knife before you wet the stone: look for chips, a rounded or very dull edge, and signs that the bevel needs substantial reshaping. Begin with the least aggressive grit that can make useful progress. If a medium stone is working, there is no need to start coarser just because a coarse stone is available.
Moving to the next grit when the previous scratches are consistent
Move up when the edge and scratch pattern are consistent along the section you are sharpening. If deep scratches from the coarse stone remain in places, a finer stone may make the bevel look partly polished without fully refining it. A steady transition saves time because each stage has a clear job: remove the previous stage’s marks and leave a more even finish.
Deburring and checking the edge between stones
A burr is a small wire-like lip formed at the edge as the bevels meet. Use light, controlled strokes to reduce it, and check the full length of the edge before moving on; a persistent burr can make a knife feel sharp briefly but cut inconsistently. Finish by testing cautiously with an appropriate method, keeping your fingers clear of the edge.
Frequently Asked Questions
These answers cover common choices when you are selecting a whetstone or planning a sharpening session. The right grit depends on the condition of the edge, not simply the number of stones you own. Start conservatively and work through the grits only as needed.
What grit whetstone should a beginner buy?
A medium stone around 1000 grit is a practical first choice for routine sharpening. It is more versatile for ordinary dull edges than a very coarse or very fine stone.
Is a 1000-grit stone enough to sharpen a knife?
Often, yes, if the edge is dull but not damaged. A chipped or badly worn edge may need a coarser stone before you refine it on the 1000-grit stone.
Can you sharpen a knife with an 8000-grit stone alone?
It is usually inefficient to start there because a fine stone removes metal slowly. Establish a sound edge on a coarser or medium stone first, then use a finer stone if you want additional refinement.
When should you use a 220-grit stone?
Use it for substantial work such as correcting a damaged or very dull edge, not for routine touch-ups. Its fast metal removal makes it easy to take off more steel than necessary.
Do you need to use every grit in order?
No. Use only the grits needed for the knife’s condition and the finish you want, moving from coarse to fine when necessary.
Does a higher grit always make a knife sharper?
A higher grit refines the edge’s finish, but it does not automatically correct an uneven bevel or a poorly formed edge. Consistent technique and a properly deburred edge matter at every grit.
How can you tell when to stop sharpening?
Stop when the edge is consistent and performs well for your usual kitchen tasks. Continuing to sharpen after that point removes steel without necessarily improving your everyday results.
How this guide was put together
The Cutting Board Care Guide team writes and fact-checks every guide on Cutting Board Care Guide. Comparisons are based on maker specifications, published standards and food-safety guidance from sources such as the USDA, and each guide is reviewed and updated when specs or prices change. More about us.